How I Edit My Photos Using Lightroom
“How do you edit your photos?” “Do you use a preset?”
With my feed and blog having a very specific aesthetic and color palette, these are two questions that I get asked on a weekly basis. Since I have been blogging for the past 6 years, you can imagine how drastically my photography and editing style has evolved since my first post. From taking photos on-the-go with my point and shoot wristlet camera and using free online editors like PicMonkey, to shooting with a professional photographer, investing in and eventually upgrading my own equipment, and learning how to navigate Lightroom (my favorite tool EVER), it has been a journey to say the least.
Note* I currently shoot my photos on a Nikon D750 with a 28mm lens. If you’re shooting on this, you should have a memory card that is 32GB or higher so it’s able to keep up with the speed at which you’re shooting.
I wanted to share this post because I believe that ANYONE can learn how to take beautiful photos and edit professionally if they are willing to put in the time and effort to do so. If you aren’t happy with your current editing process or the aesthetic of your photos, change it! I promise that it’s not too difficult to master, and it’s not a skill only reserved for professional photographers.
Although there may be a learning curve in the beginning, I recommend taking the time to edit your photos manually as opposed to purchasing a standard preset to slap on. I have been manually editing my photos since I began, and made the mistake about 6 months ago of thinking that I needed to purchase a preset because it would “save me time” and keep my feed cohesive. For me, it ended up being a waste of $99.
Although the (extremely popular) preset pack looked like it would fit my aesthetic and photography style, once applied to my photos, I realized that it wasn’t even close. It didn’t matter that I had spent hours doing research and reading reviews before purchasing what I thought would be the “perfect” fit. In the end, I spent MORE time trying to adjust the settings after the preset was applied to “fix” the photo than I did editing them manually from the get-go.

So, my simple answer is “no, I do not use a preset for my photos”. But, the long answer is that through that frustrating process, I wound up creating my own preset in Lightroom to apply to my photos that actually translates seamlessly. Sometimes when I apply it, it is absolutely perfect and doesn’t need any adjustments at all. Other times, I tweak the exposure or temperature a bit based on what color clothing I’m wearing and/or my environment.
I’m not currently selling my preset, but I would recommend for you to play around with this strategy as well! Testing out what settings you like in the majority of your photos and creating your own preset based on that is what worked best for me to find the balance between saving time and still getting the end result that I wanted.
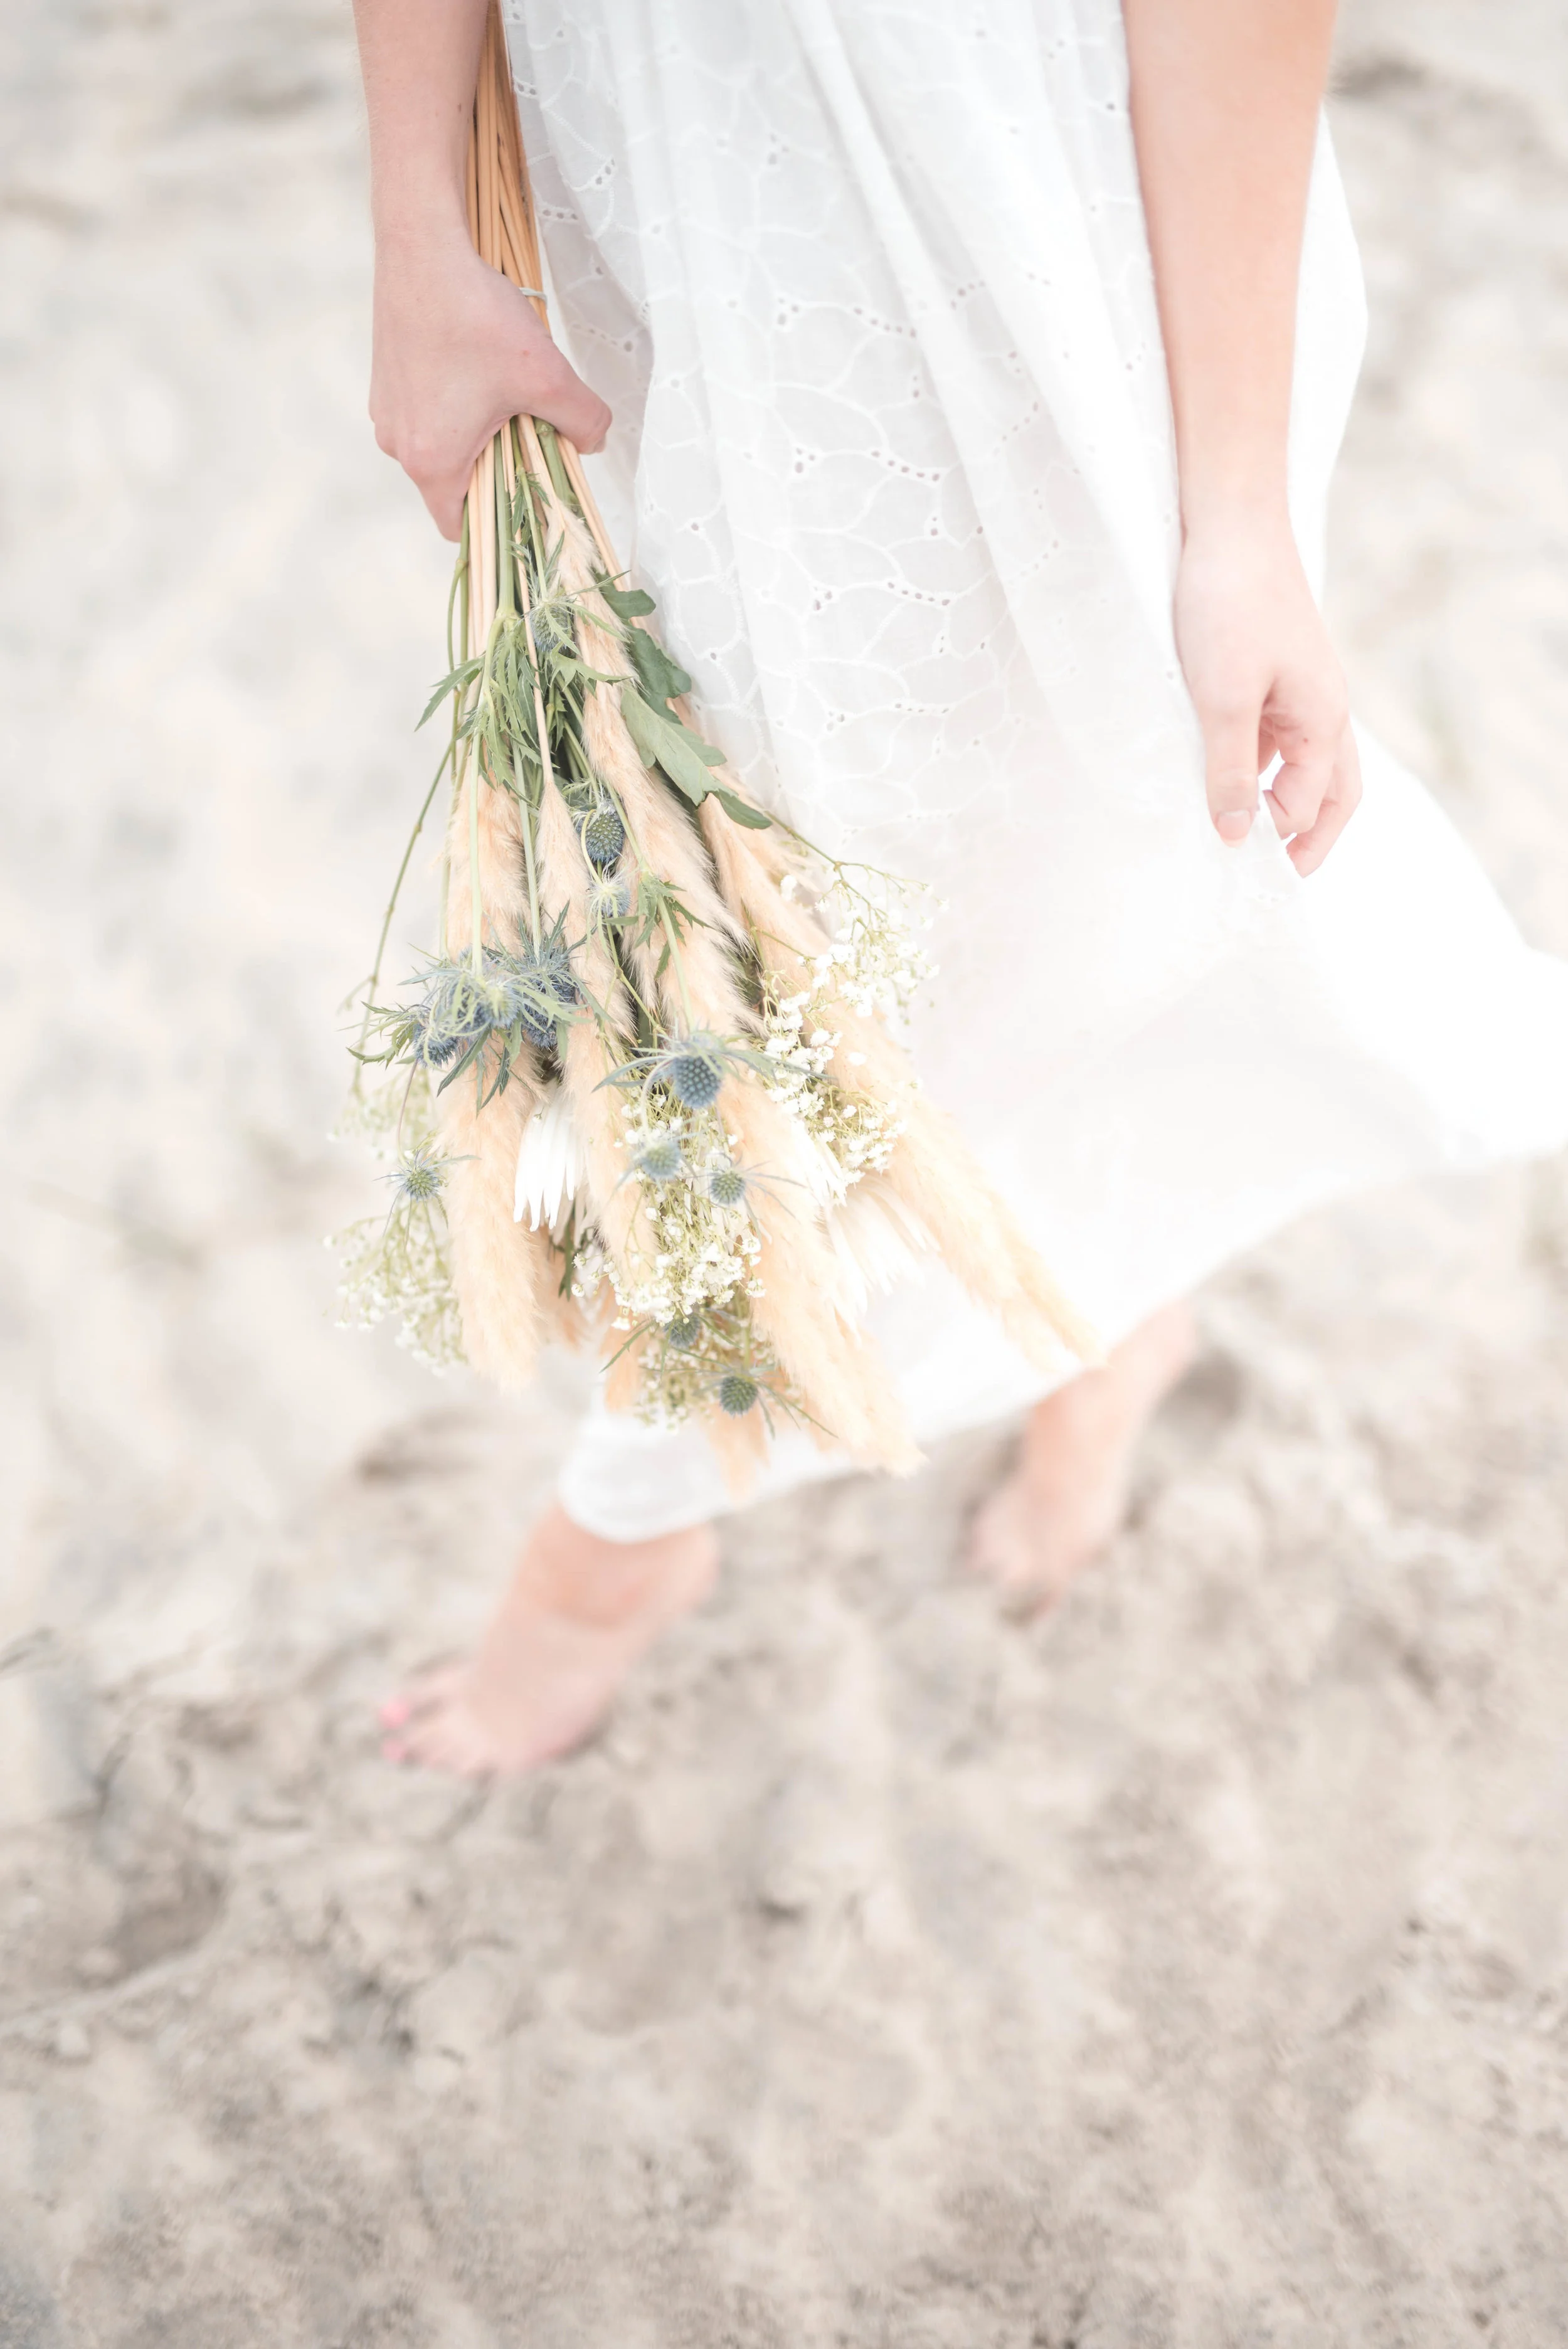
Of course, the lighting you are shooting in, your color clothes/hair/makeup, attention to detail, and distance can affect the editing process as well. For example, in some of these shots on the beach when our photographer was further away, I bumped down the exposure because they were a little blown out once my preset had been applied.
I shared a full blog post about designing a beautiful Instagram feed that covers the topic of consistency in colors, lighting, etc. (linked here)!
If you are a beginner in Lightroom, the three things I would recommend playing around with first are: exposure (to make the image brighter/darker), temperature (to make the image cooler/warmer), and shadows (to make the image softer/more intense). In my opinion, these settings alone can completely transform a photo.
For my bright and airy feed, I’m sharing my exact settings for my personal preset below:
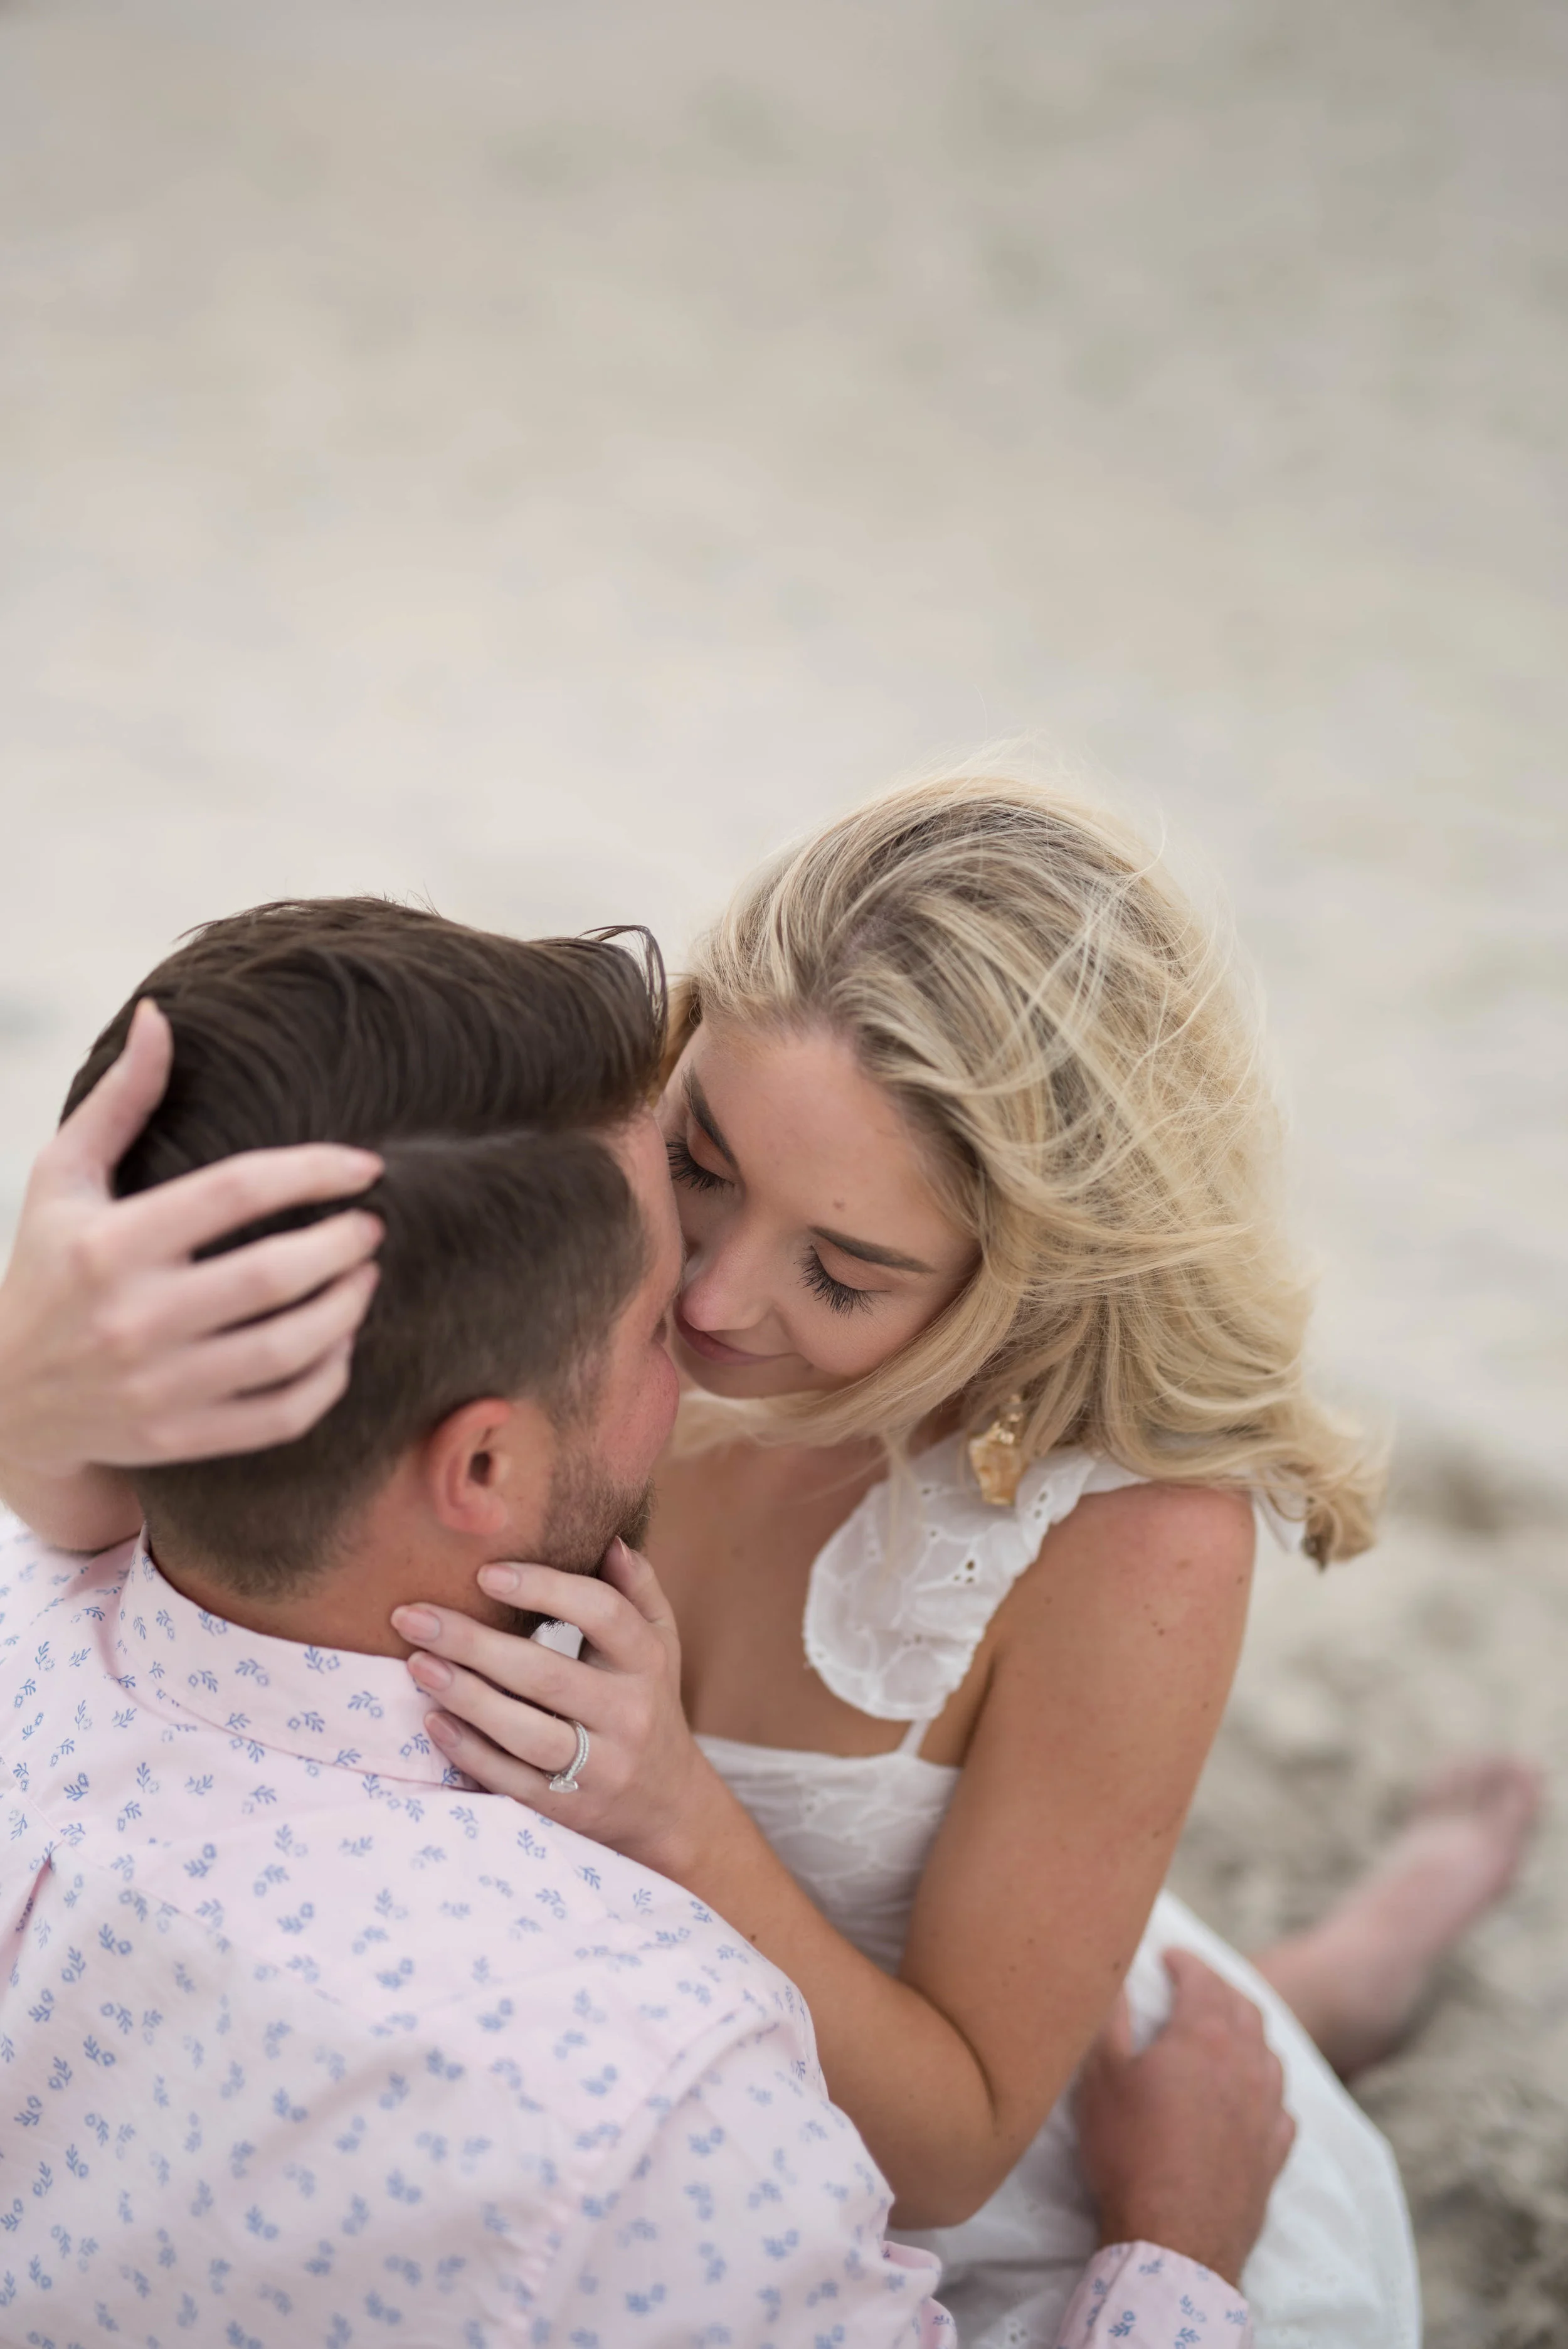
BEFORE
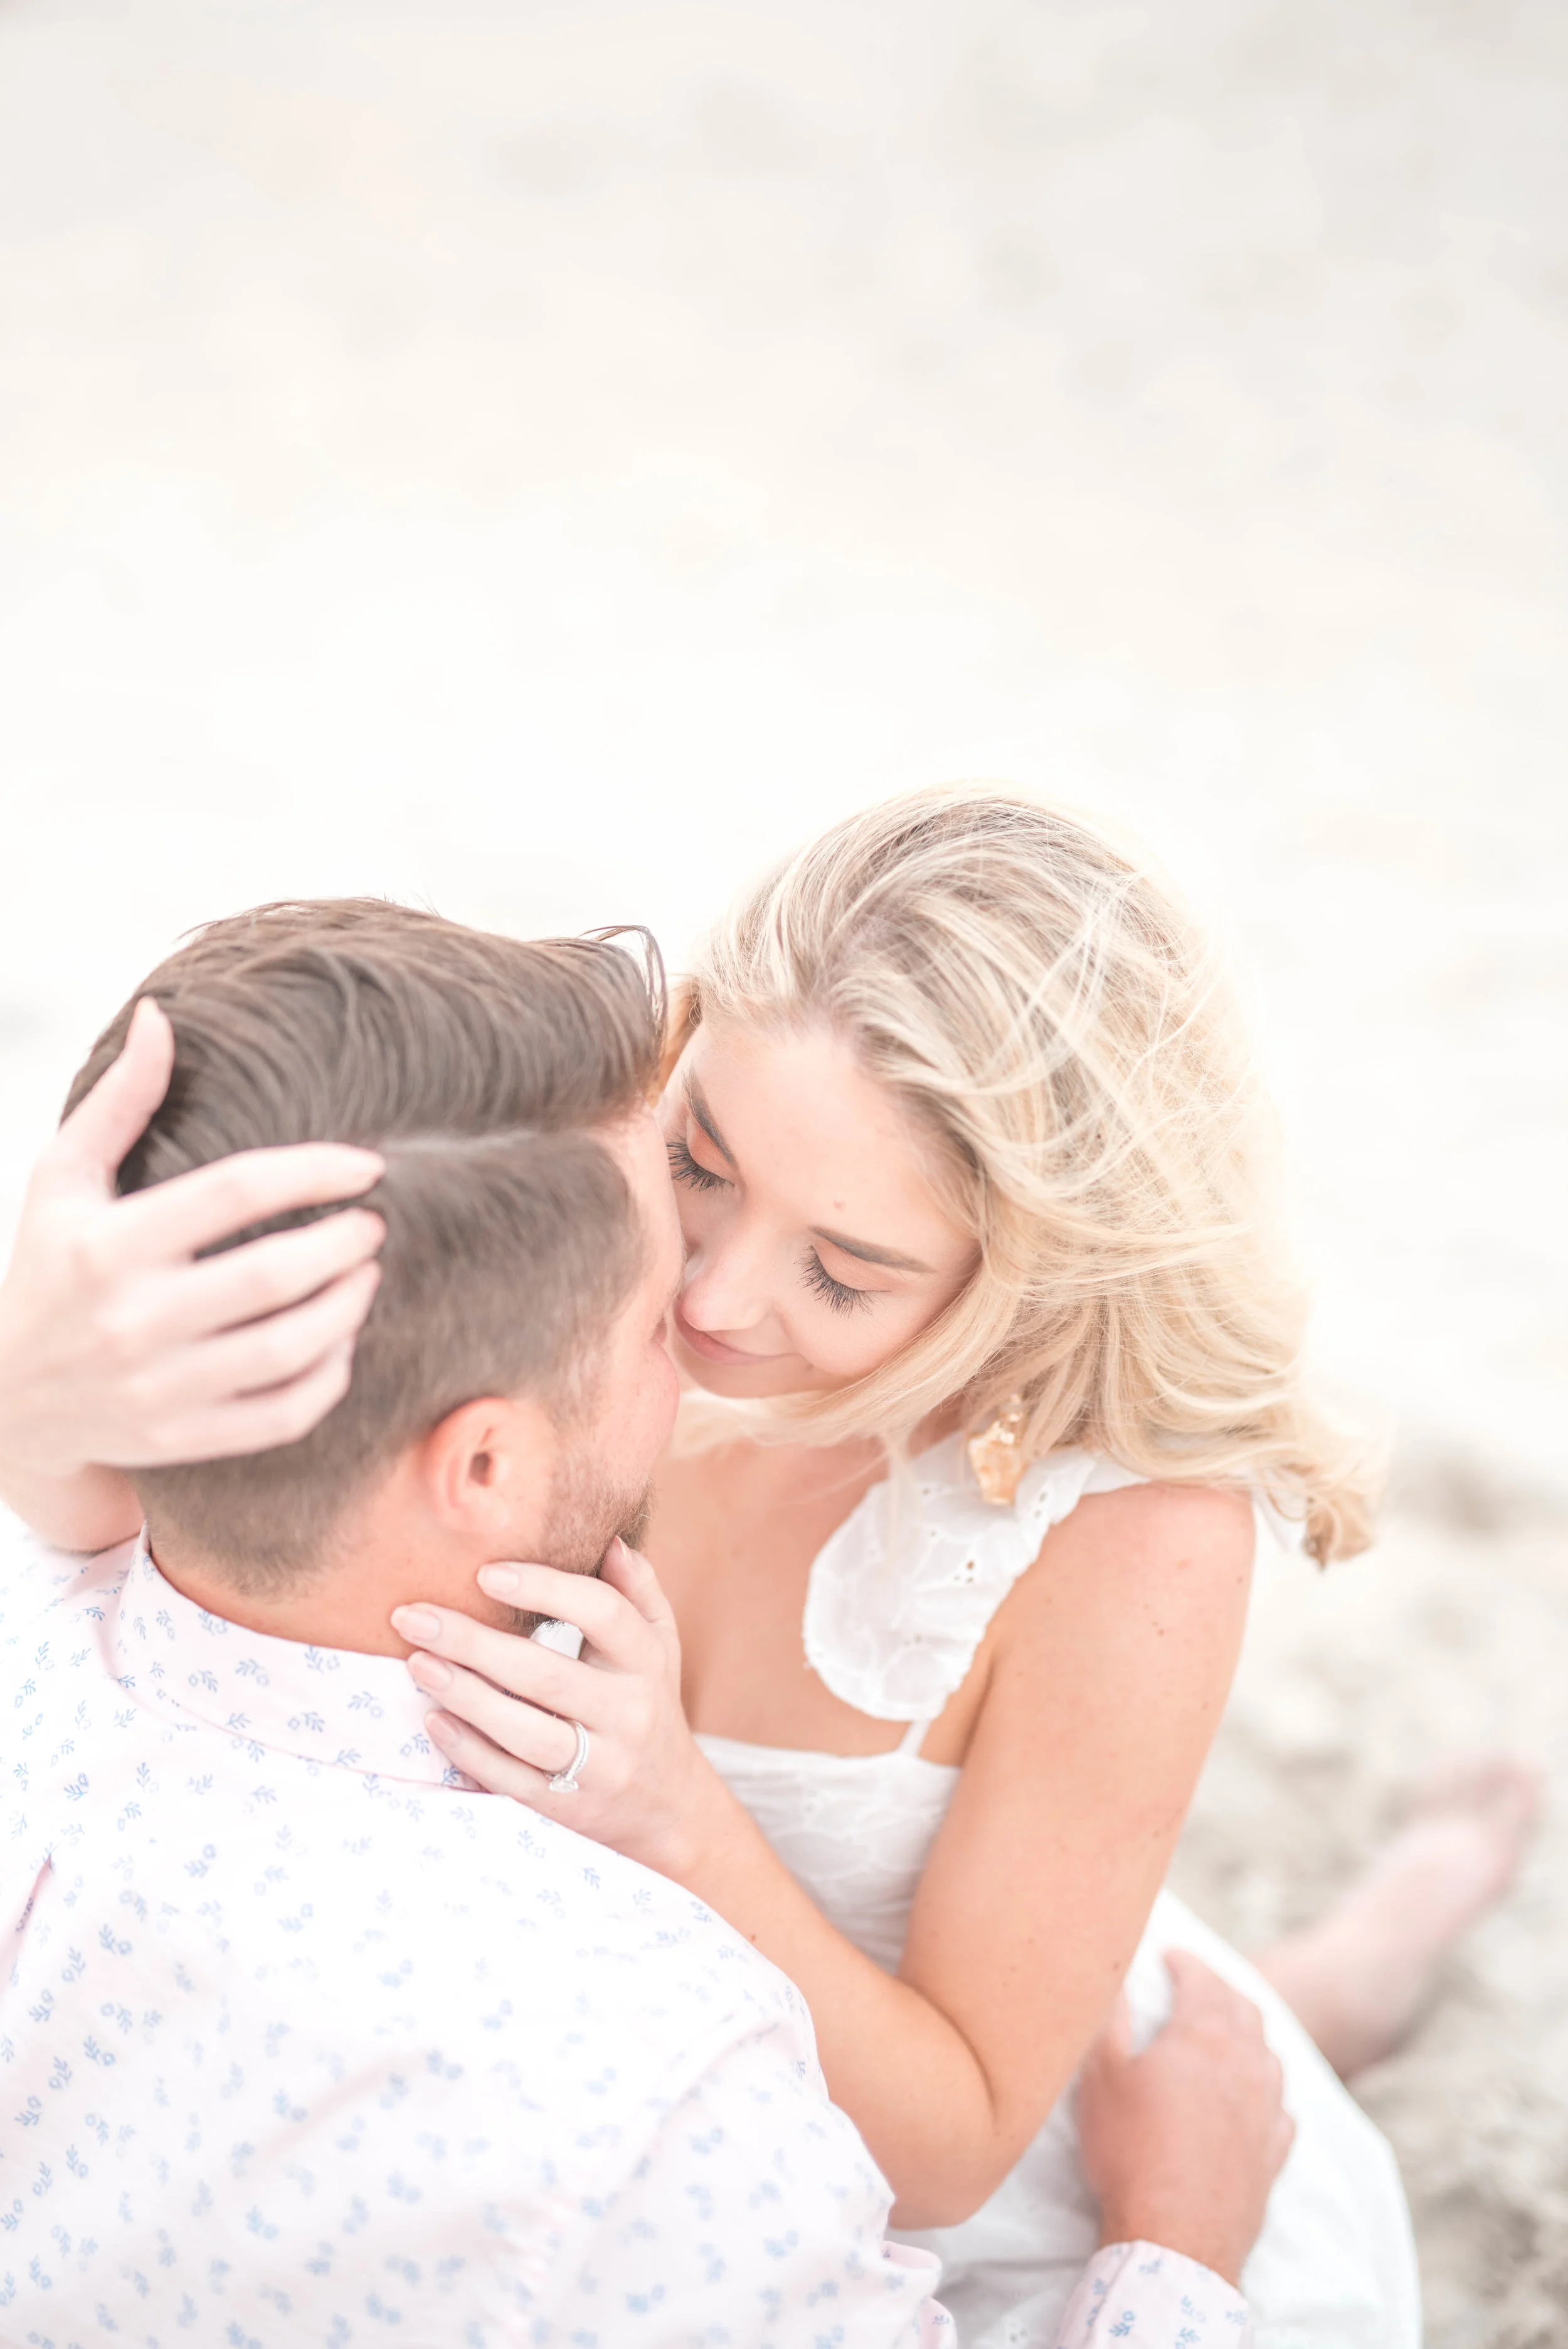
AFTER
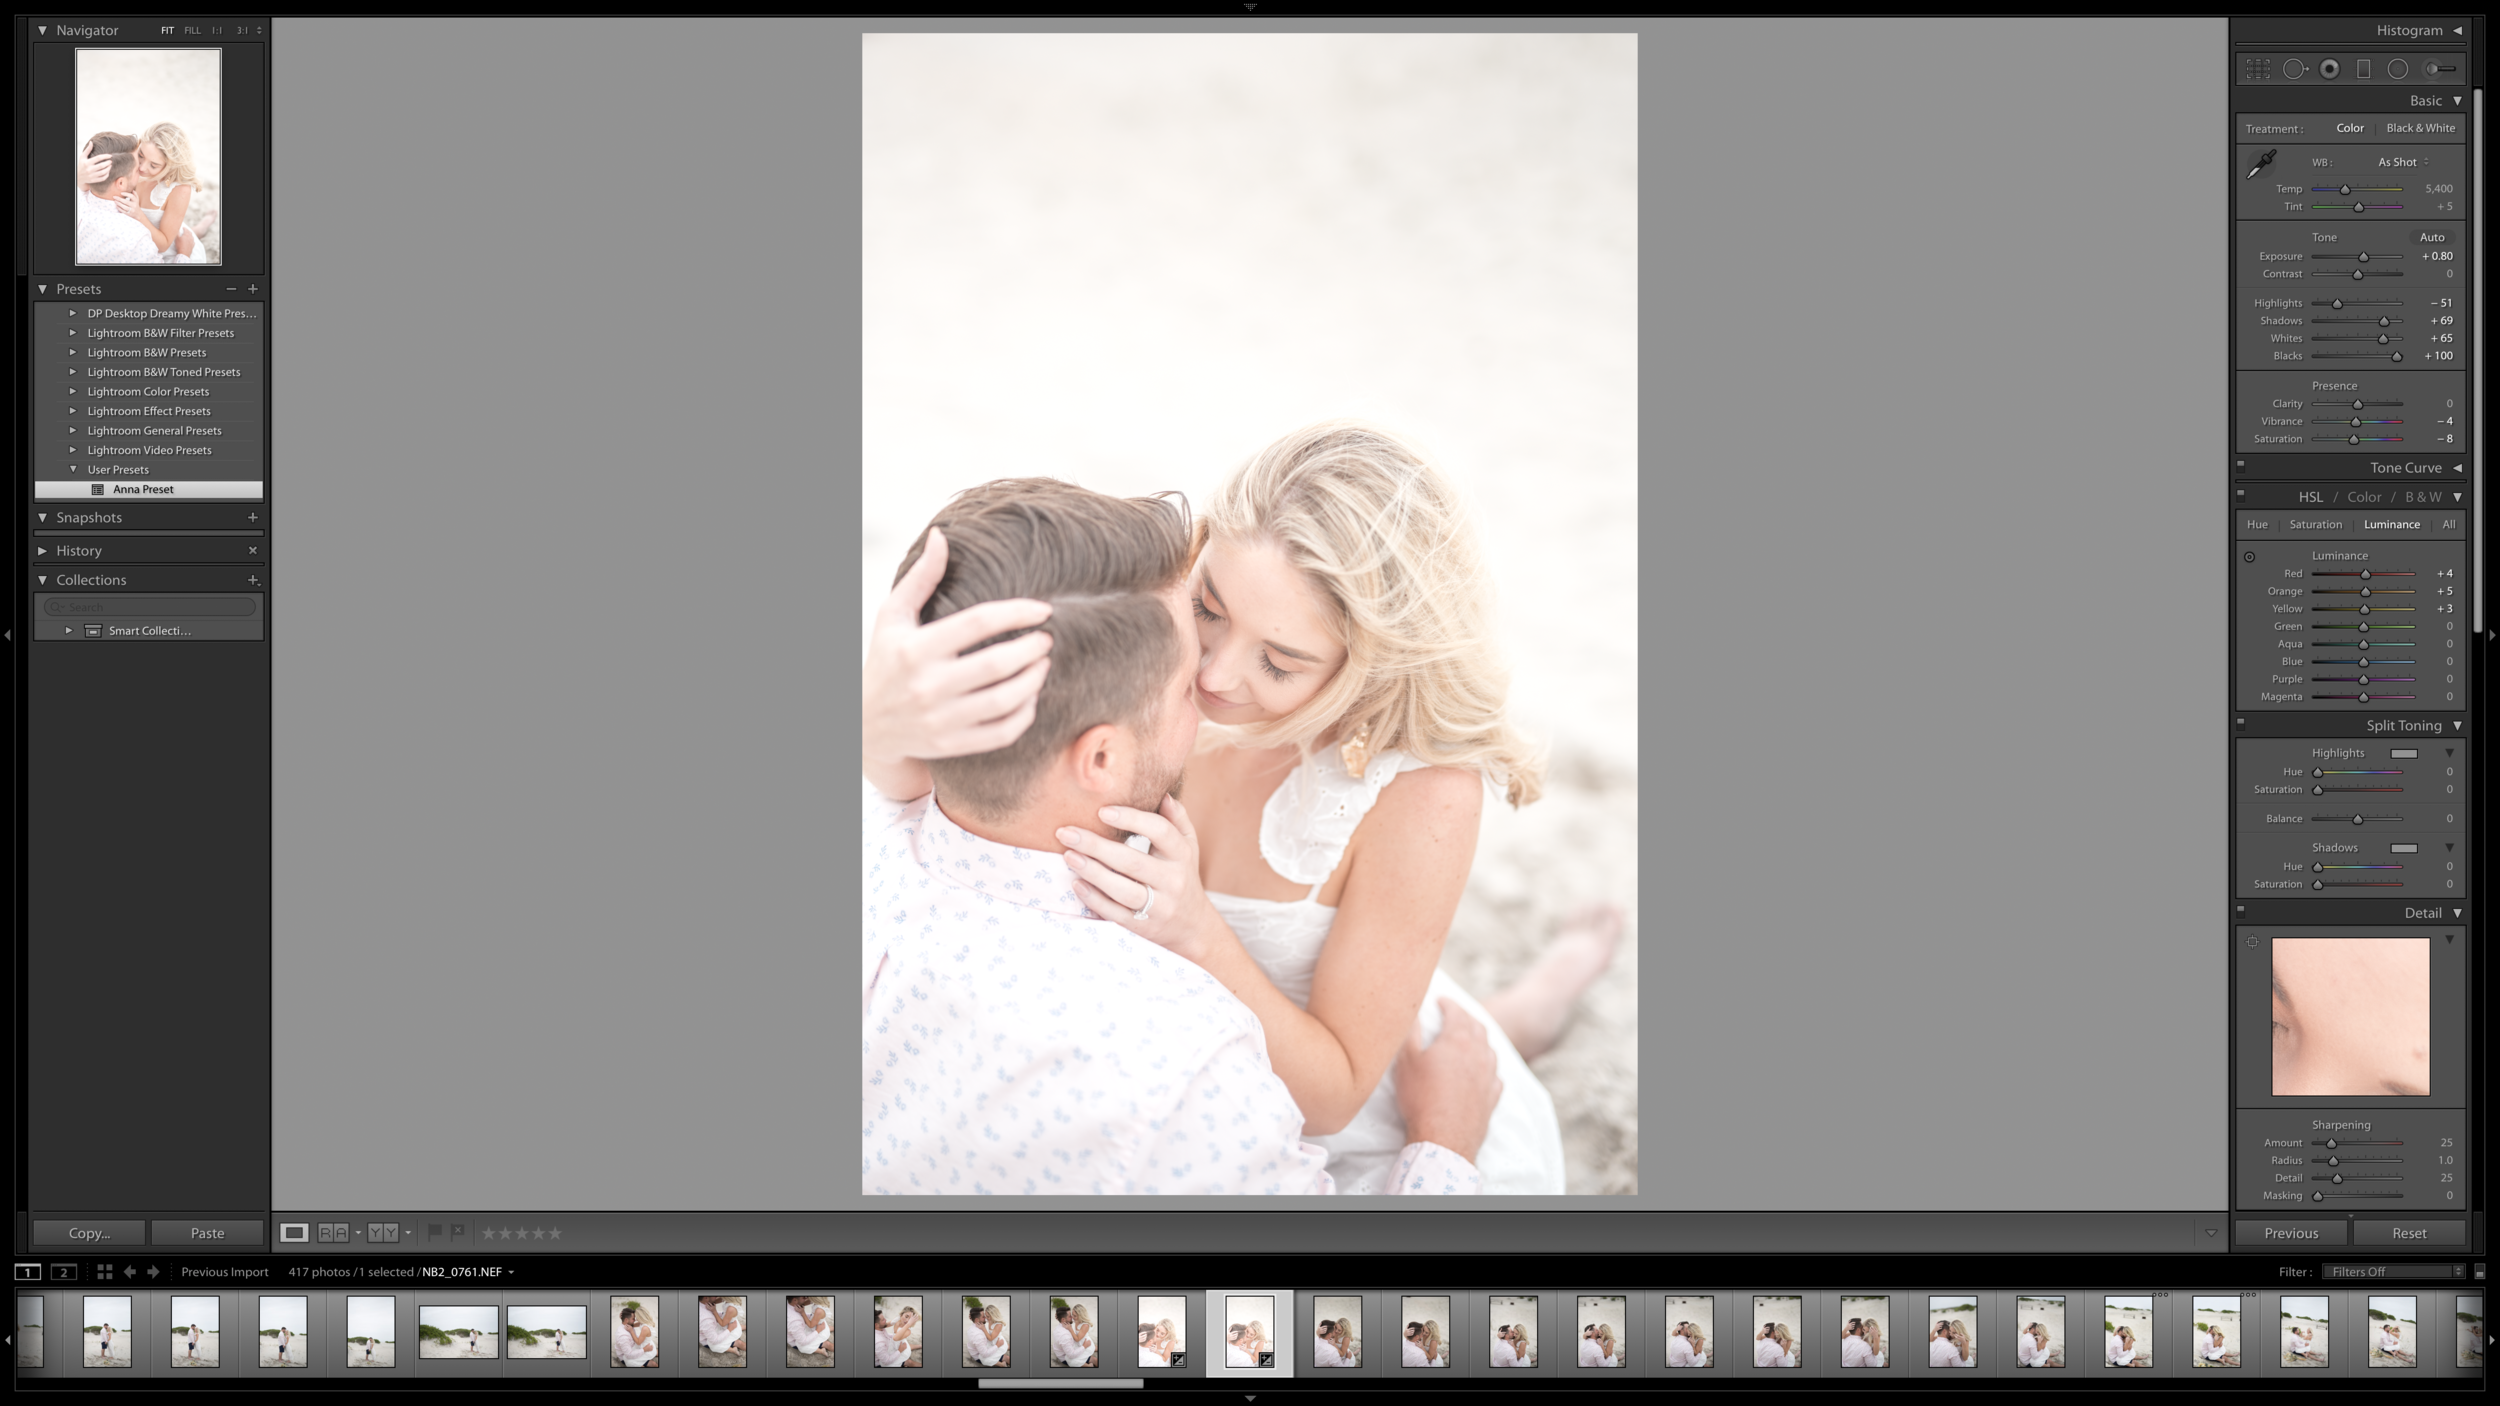
Settings for the image above:
Temperature: 5,400
Tint: +5
Exposure: +0.80
Contrast: 0
Highlights: -51
Shadows: +69
Whites: +65
Blacks: +100
Presence Clarity: 0
Presence Vibrance: -4
Presence Saturation: -8
HSL Saturation: Red -2, Orange -5
HSL Luminance: Red +4, Orange +5, Yellow +3
Sharpening: Amount 25, Radius 1.0, Detail 25
Noise Reduction: Color 25, Detail 50, Smoothness 50
You can also edit your photos using the Lightroom app on your phone. I prefer to edit on my desktop for a full set of photos, but once in awhile I’ll tweak one or two in my Lightroom app if it doesn’t look quite how I want when I put it into my planner to schedule my Instagram feed.
Bonus* Tips for shooting to make the editing process easier:
Always shoot in RAW on your DSLR; this is an image format that allows for the highest level of photo manipulation.
When in doubt, underexpose rather than overexpose. It is much easier to make the photo brighter in Lightroom than to make it darker while keeping the quality. This also allows the image to retain more detail.
Photographer: Nicole Babcock; Edited by me
Was this helpful? Comment on my latest Instagram post and tell me your favorite take-away!
Want more lifestyle inspiration? Read Embracing Our Next Chapter and 10 Books You Need to Read This Year.
Lastly, do you want some inbox love? Get the special treatment: exclusive content, sales I'm loving, new blog posts, social media, & more. Join our email list now!
xo Anna Elizabeth