Lifestyle Photography Essentials: Tools & Tips
Photography is something I have loved ever since I was little. At a young age, I made up my mind that I wanted to become an entertainer or creative of some kind. In my free time, I found myself recruiting my Dad and sister to take photos of me in our backyard for my DIY modeling portfolio, or film me singing and dancing for various audition tapes that we would mail in.
When my private singing instructor mysteriously disappeared one week without a word, I came to the realization that I probably wasn’t destined to become the next Britney Spears or Christina Aguilera. I retired my foldable piano and begged my parents to buy me a wristlet camera instead.
That camera truly became an extension of me, and soon after, I was known as the girl among my friends that was always taking pictures. From selfies in my bedroom against my tropical mural wall to sloppy group photos at high school parties. Although the photos I was taking weren’t exactly remarkable, I quickly fell in love with documenting every moment.
Gradually, I worked my way up to borrowing my first DSLR camera from my Dad, and eventually investing in my own used camera about 4 years ago. Sam was actually the one who convinced me to take the leap in purchasing my own equipment and he learned alongside me over the years as we grew my blog.
Fortunately, as I networked at various workshops and events, and modeled in photoshoots around the Maryland area, I grew close to a couple of photographers that I would often shoot with. Every time we would get together, I would try to learn as much about photography from their end as possible while also trying to hone in on my “angles” and posing to create the best result for both of us.
One of the photographers that I was fortunate enough to meet was Jade, with Jade Nikkole Photography, who worked closely with Sam and I for many years before she moved to Germany. I’d be willing to bet that Jade has more photos of me on her computer than anyone in the world, including me. I gave up trying to keep track of how many photoshoots we did together over the years.
Without question, the most important thing that she taught me prior to moving was the importance of taking full advantage of my DSLR and shooting RAW on Manual, as opposed to JPEG on Auto. It was something I had been hesitant to learn myself, but once I grew familiar with the settings and how to adjust them, I can’t imagine ever going back to my old way of shooting. Knowing how to adjust the brightness and focus is truly a game-changer, and shooting in RAW makes editing on the back end significantly easier.
Now, I believe that photography is a tool that continues to evolve every year. My photography style is vastly different than it was 3-5 years ago, and I imagine that it will continue to change as I learn more about this craft and flex my creative muscle.
I feel confident in saying that I don’t have all of the answers or know every trick and technique. That is the wonderful thing about this practice; it is something I will never grow bored of if I continue to keep my mind open to learning from others in this field.
So, without further ado, today I’m sharing my photography tools and tips that I have found useful over the past few years. From the lens I use most, to my camera settings, tips for posing and styling, editing in Lightroom, and more!

Camera equipment
Now, let’s start with the basics. I currently use a Nikon D750 with a 28mm Nikon lens for all of the photos shared on my blog and Instagram feed.
I know that a lot of people are comfortable with using iPhone photos in place of a camera, but for the campaigns I shoot and the level of content that I aspire to create, I prefer to have the highest quality images possible. Of course, I use my phone for Instagram story photos and any quick videos that I share, but when it comes to collaborations or styled shoots, I always use my camera.
The camera settings that I have been using over the past year are: Manual, F 1.8, ISO 100. This will give you the crisp single focus with a slightly blurred background that I prefer for all of my photos.
I generally leave these settings alone and only adjust the shutter speed while shooting depending on the lighting.
I prefer to make the photos a bit less bright while shooting so that they aren’t too blown out or become blurry, and I have the ability to adjust them in Lightroom while keeping the colors in tact. Remember: it is much easier to brighten a photo than to darken it.
Sam and I are big on over-shooting when we are working on a campaign because I usually check the images every 10 or so and adjust the scene to make sure that my vision is coming alive. Bottom line: I’d rather sort through 500 photos for one campaign and find 10 that I love than only have 50 photos and have to settle for 10 that I feel like could be better.
Due to our shooting style, I always prefer to have at least 2 SanDisk 32 GB Memory cards on hand. Anything less than 32 GB is going to be too slow for the type of camera that I use. I have 5 total at the moment and bring all of them along when traveling or shooting a campaign of 3+ outfits. You can purchase these memory cards on Amazon (link here).
Tip: If you decide to buy a used camera or lens, make sure that you get insurance along with it. I made the mistake of not getting insurance on my first camera and ended up wasting a ton of money. Lesson learned!
The blush pink camera bag that I use is from The House of Flynn. Jade, with Jade Nikkole Photography, gave it to me as a gift a couple years ago and it couldn’t be more perfect.
I have also shared a few of my current favorite options below to shop:

Tips for shooting
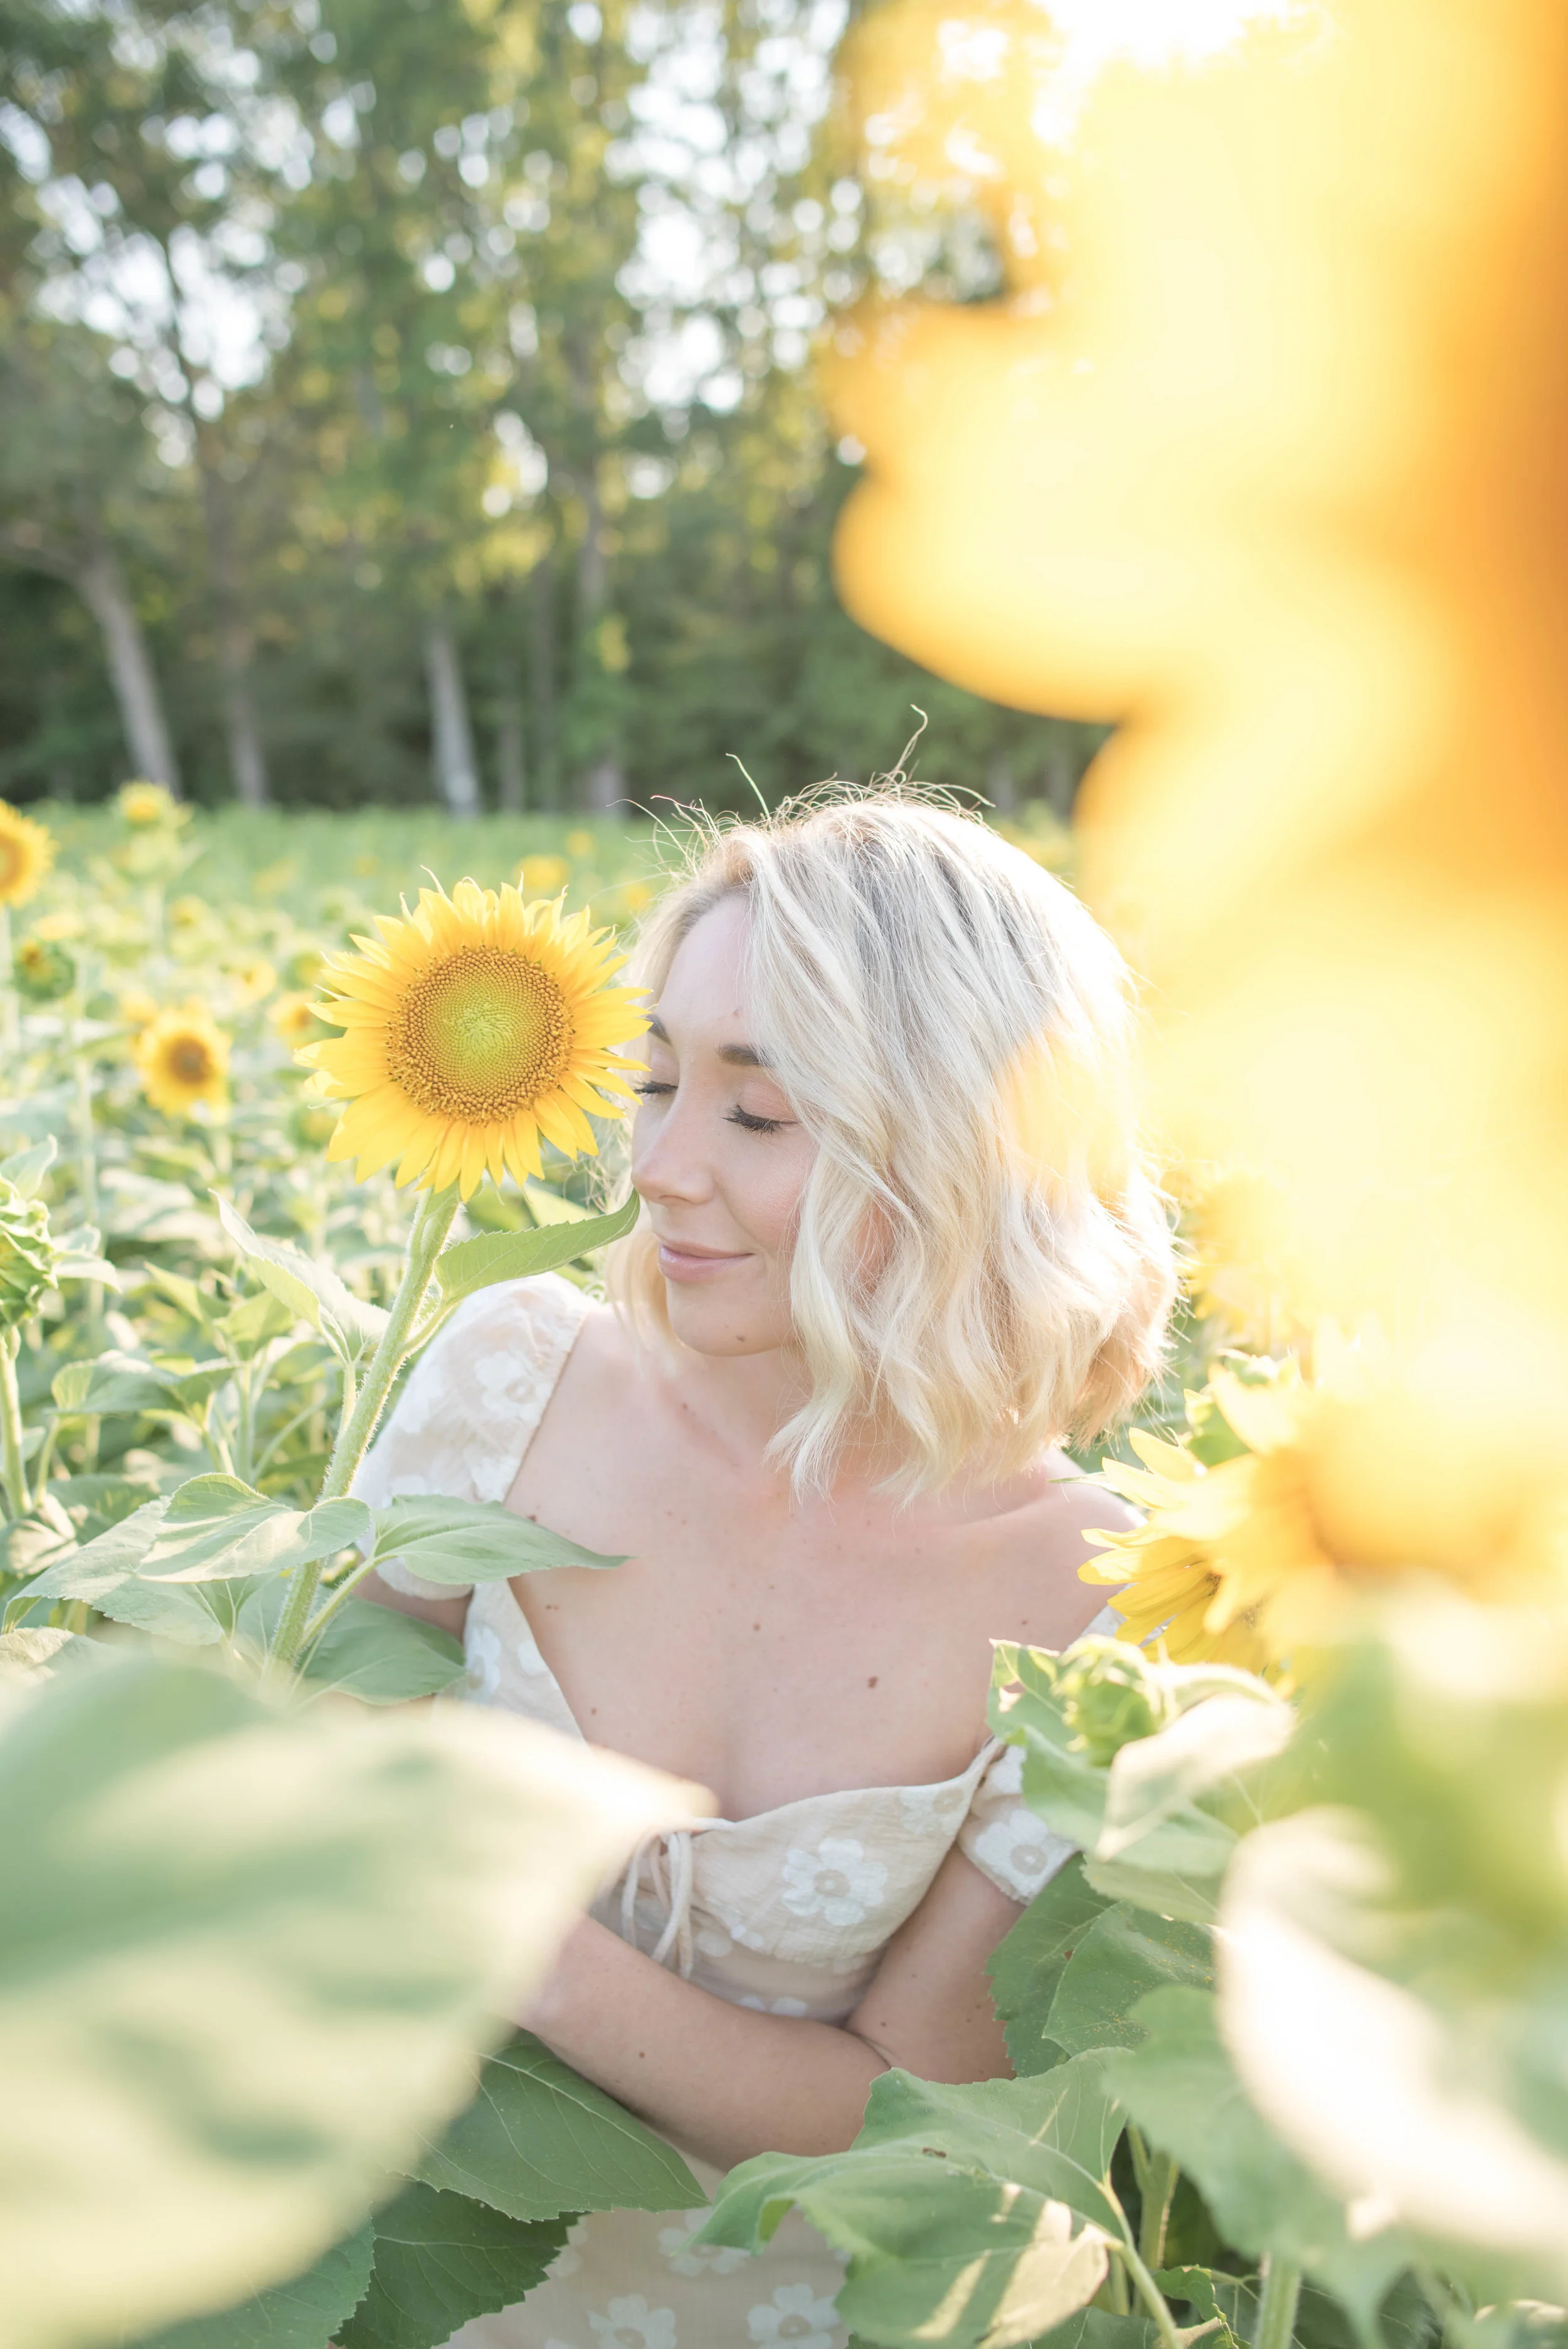
I feel like this is a given, but natural, even light is always best when shooting. I personally prefer sunrise or sunset while there is a bit of shade and the sun isn’t directly above us. Ideally, I like to be in full shade when taking photos, but when that is not possible (for example: mid-morning in a sunflower field or on a beach), make sure you have the sun behind you and not directly on your face.
Next, location scouting. I believe this is a crucial step to any successful shoot. I generally plan my photoshoots 5+ days out to make sure that I have everything in place to avoid any last-minute stress. Oftentimes, when Sam and I are running errands or have a free morning on the weekend, we will drive around our area and look for pretty blooms or a background that would fit the outfit(s) I have in mind.
If I am planning on shooting somewhere like a sunflower or strawberry field, I do my research beforehand to find out which is the best option within reasonable distance to us, what their hours are, if they require a photography permit, etc.
For traditionally busy locations, Sam and I try our best to get there right when they open to avoid crowds. If there are already people there, we make sure that we are extremely respectful and find ourselves a little corner on the edge where we can stay out of the way (even if the lighting/background isn’t totally ideal).
On the day of a shoot, I always have a place in mind and at least 1 backup location nearby just in case something pops up so we aren’t stressed with timing.
Another tip is to match your outfit to the location. Make sure it is realistic and the colors are complimentary, but there is still some contrast. For example: you wouldn’t wear stiletto heels to a farm, and a white dress on an all-white background will essentially make you look like a floating head in photos.
Now, my biggest tip for posing is to move around while you are shooting. Natural movement is key; sway back and forth, walk slowly, twirl, play with your earrings or hat. It may feel awkward, but it looks much more natural and candid than standing in one place.
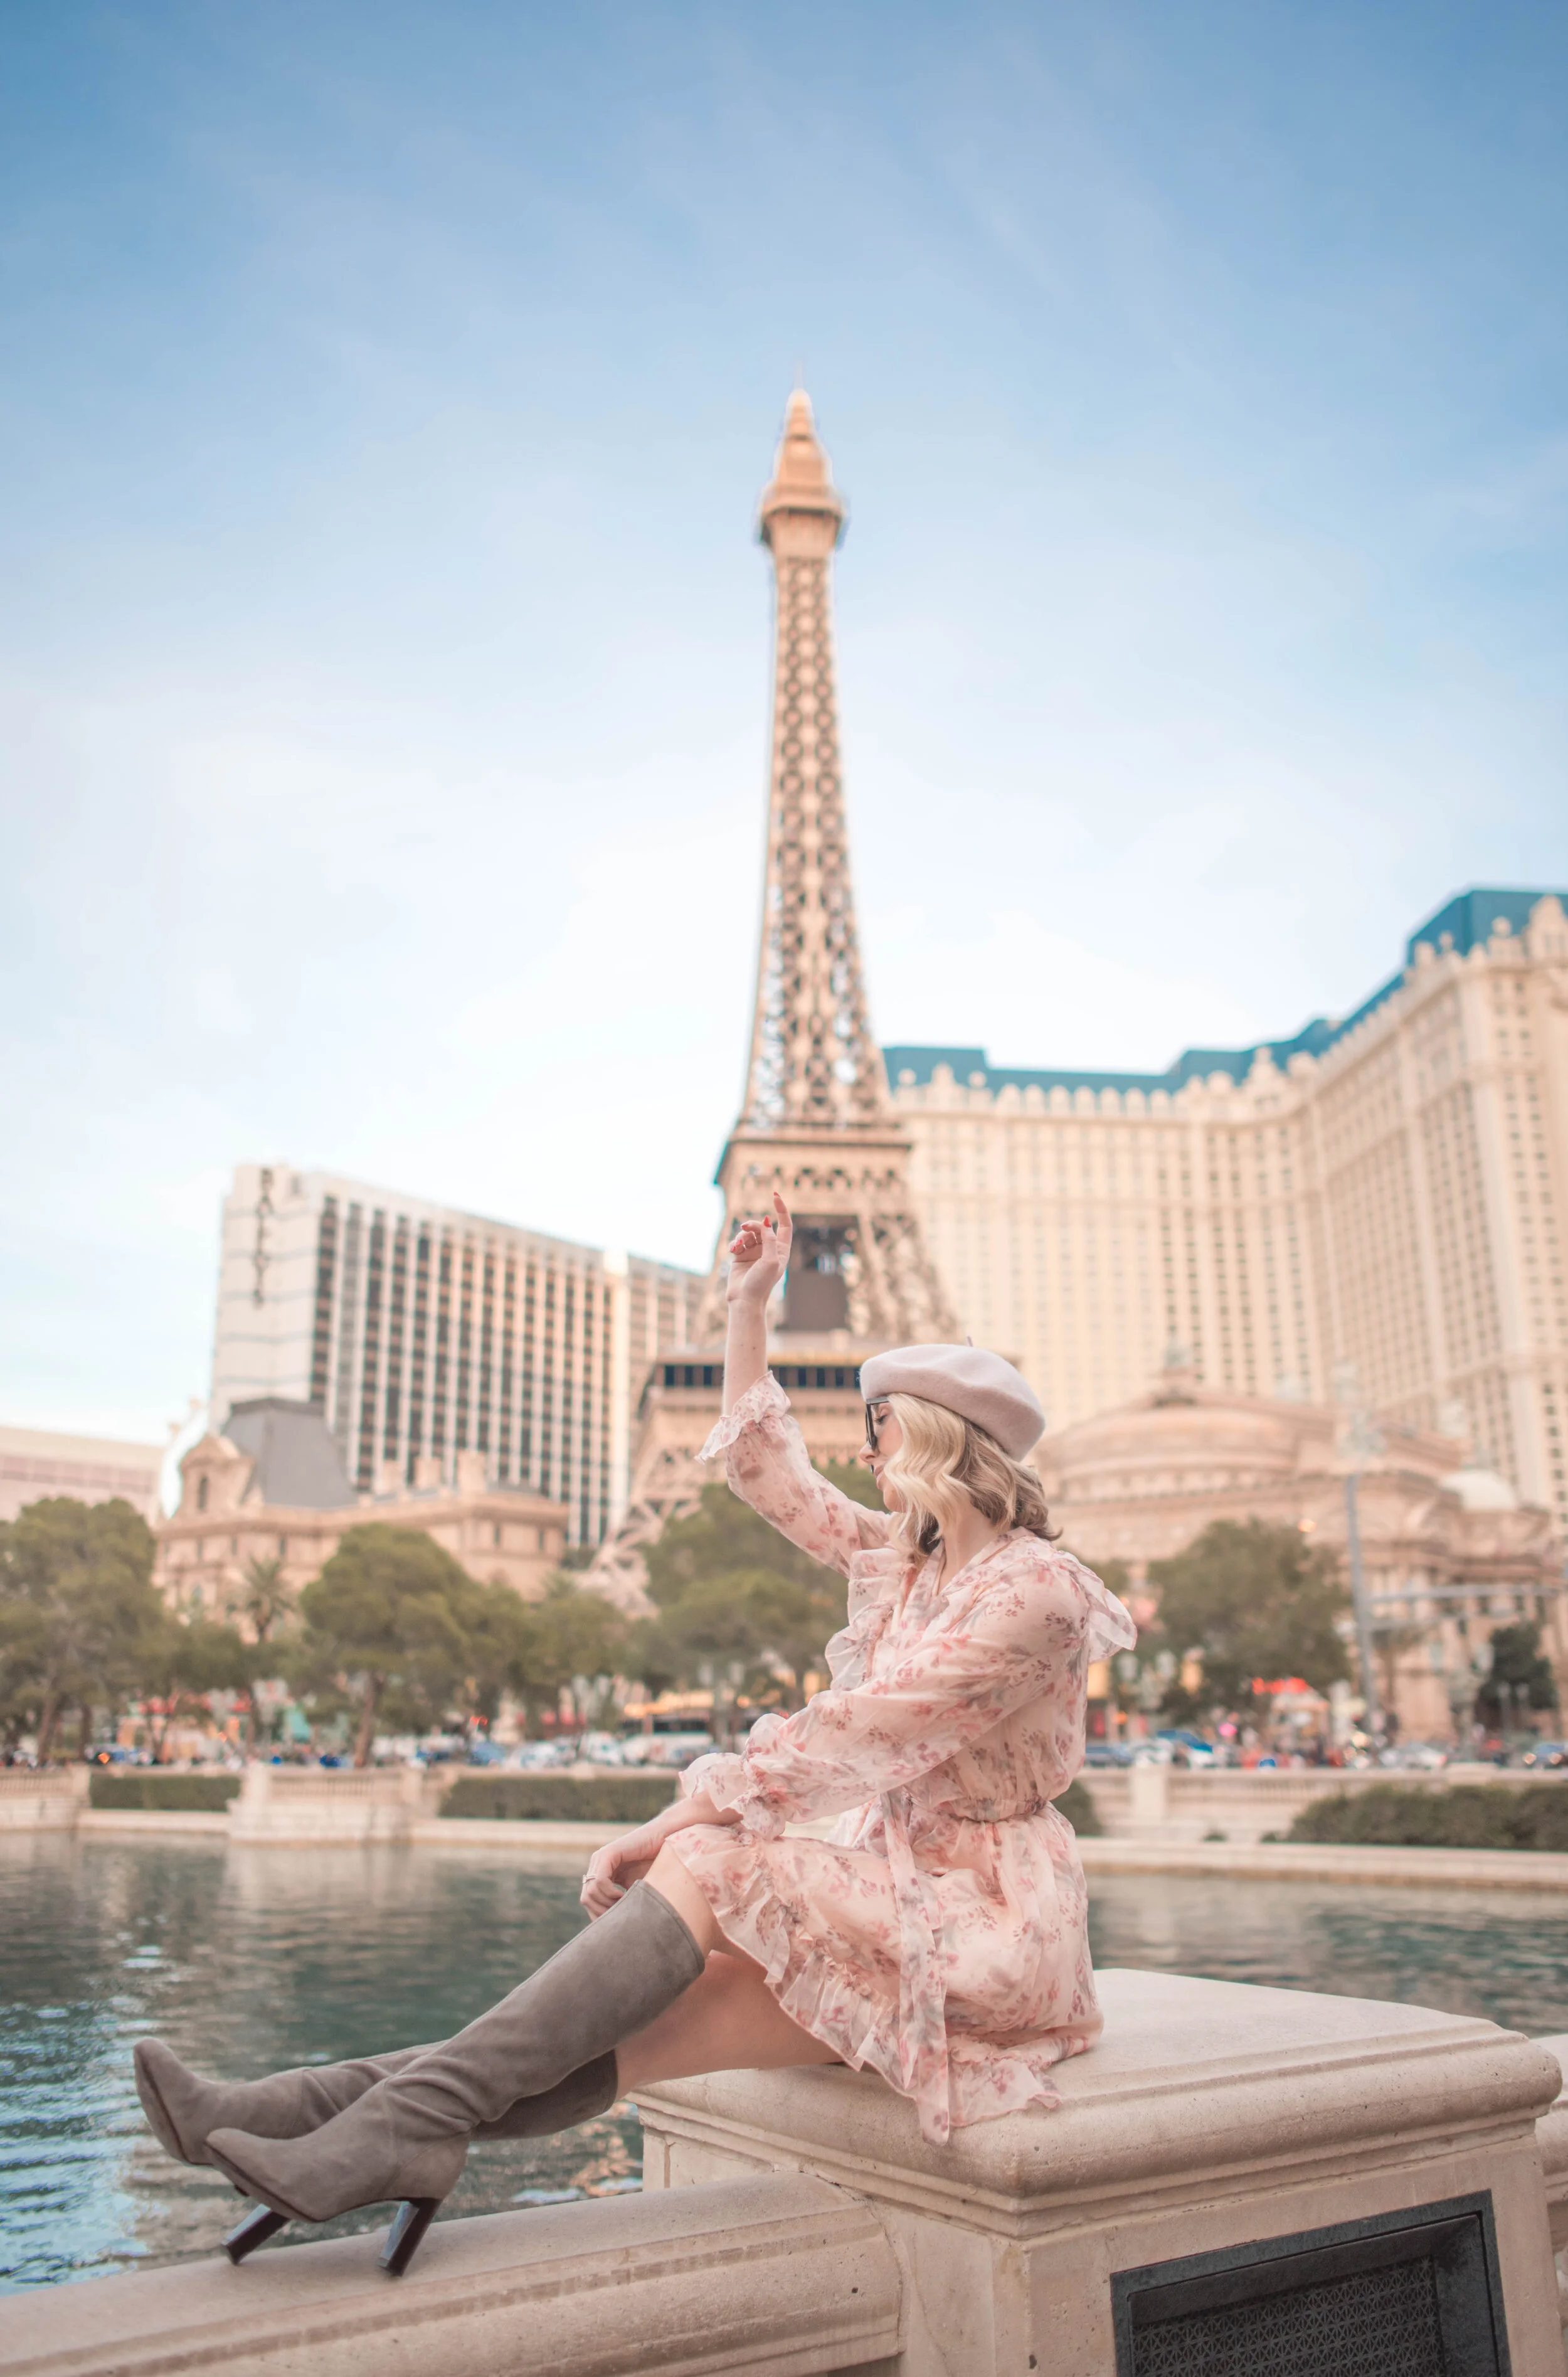
For longer looking legs, position them sideways pointing directly at the camera (like this) and place your arm on your hip or in the air while leaning backwards a little bit.
Bottom line is have fun and don’t be afraid to be silly. I have had plenty of strangers stare or laugh at me while shooting and you really just have to block it out and focus on the goal at hand. Just last weekend, we had a woman filming Sam and I on her iPhone from her car window. I say if it’s that interesting to them, then let them stare and be glad that you were able to lend some entertainment to their day.
Next, be sure to switch up the angle and focus. I always have Sam shoot from several different angles throughout a shoot to tell a full story and make the photos more interesting when sharing a gallery in a blog post or Instagram carousel.
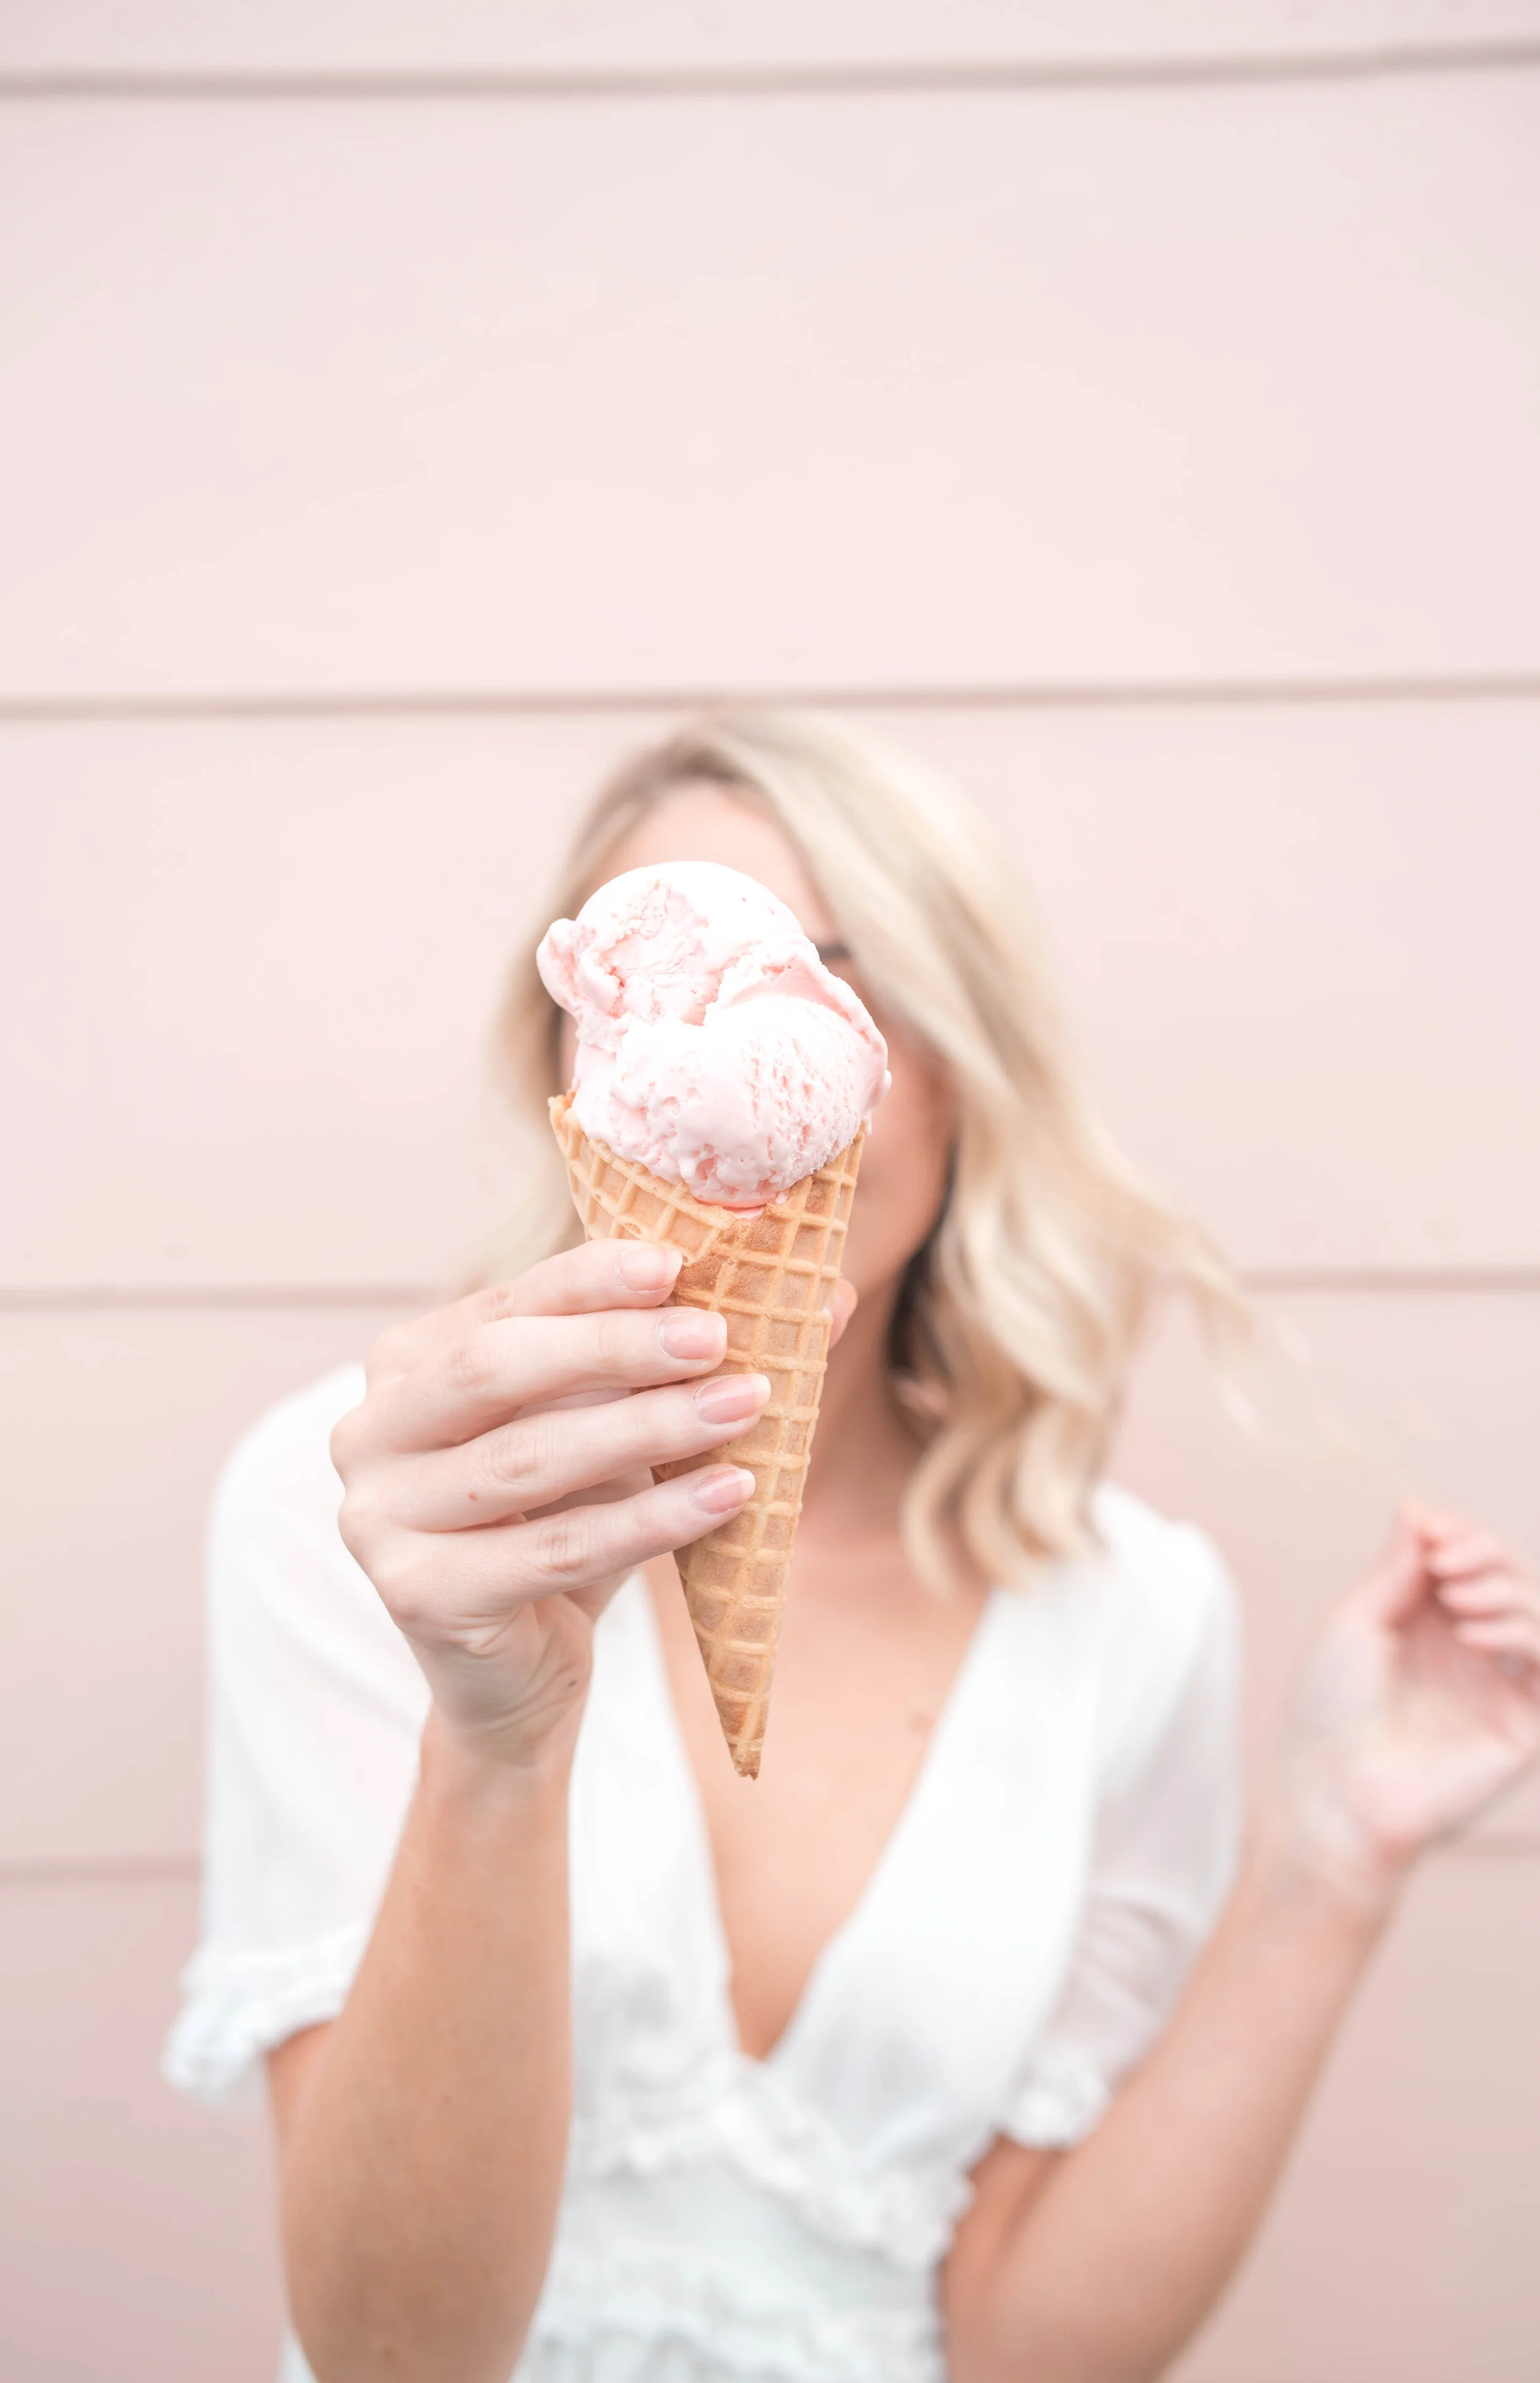
You can also shoot through a flower or branch, or focus on something in front of your face while leaving the background blurred (like this wine glass). These techniques are extremely simple, you just have to get creative and play around with them until you are happy with the result.
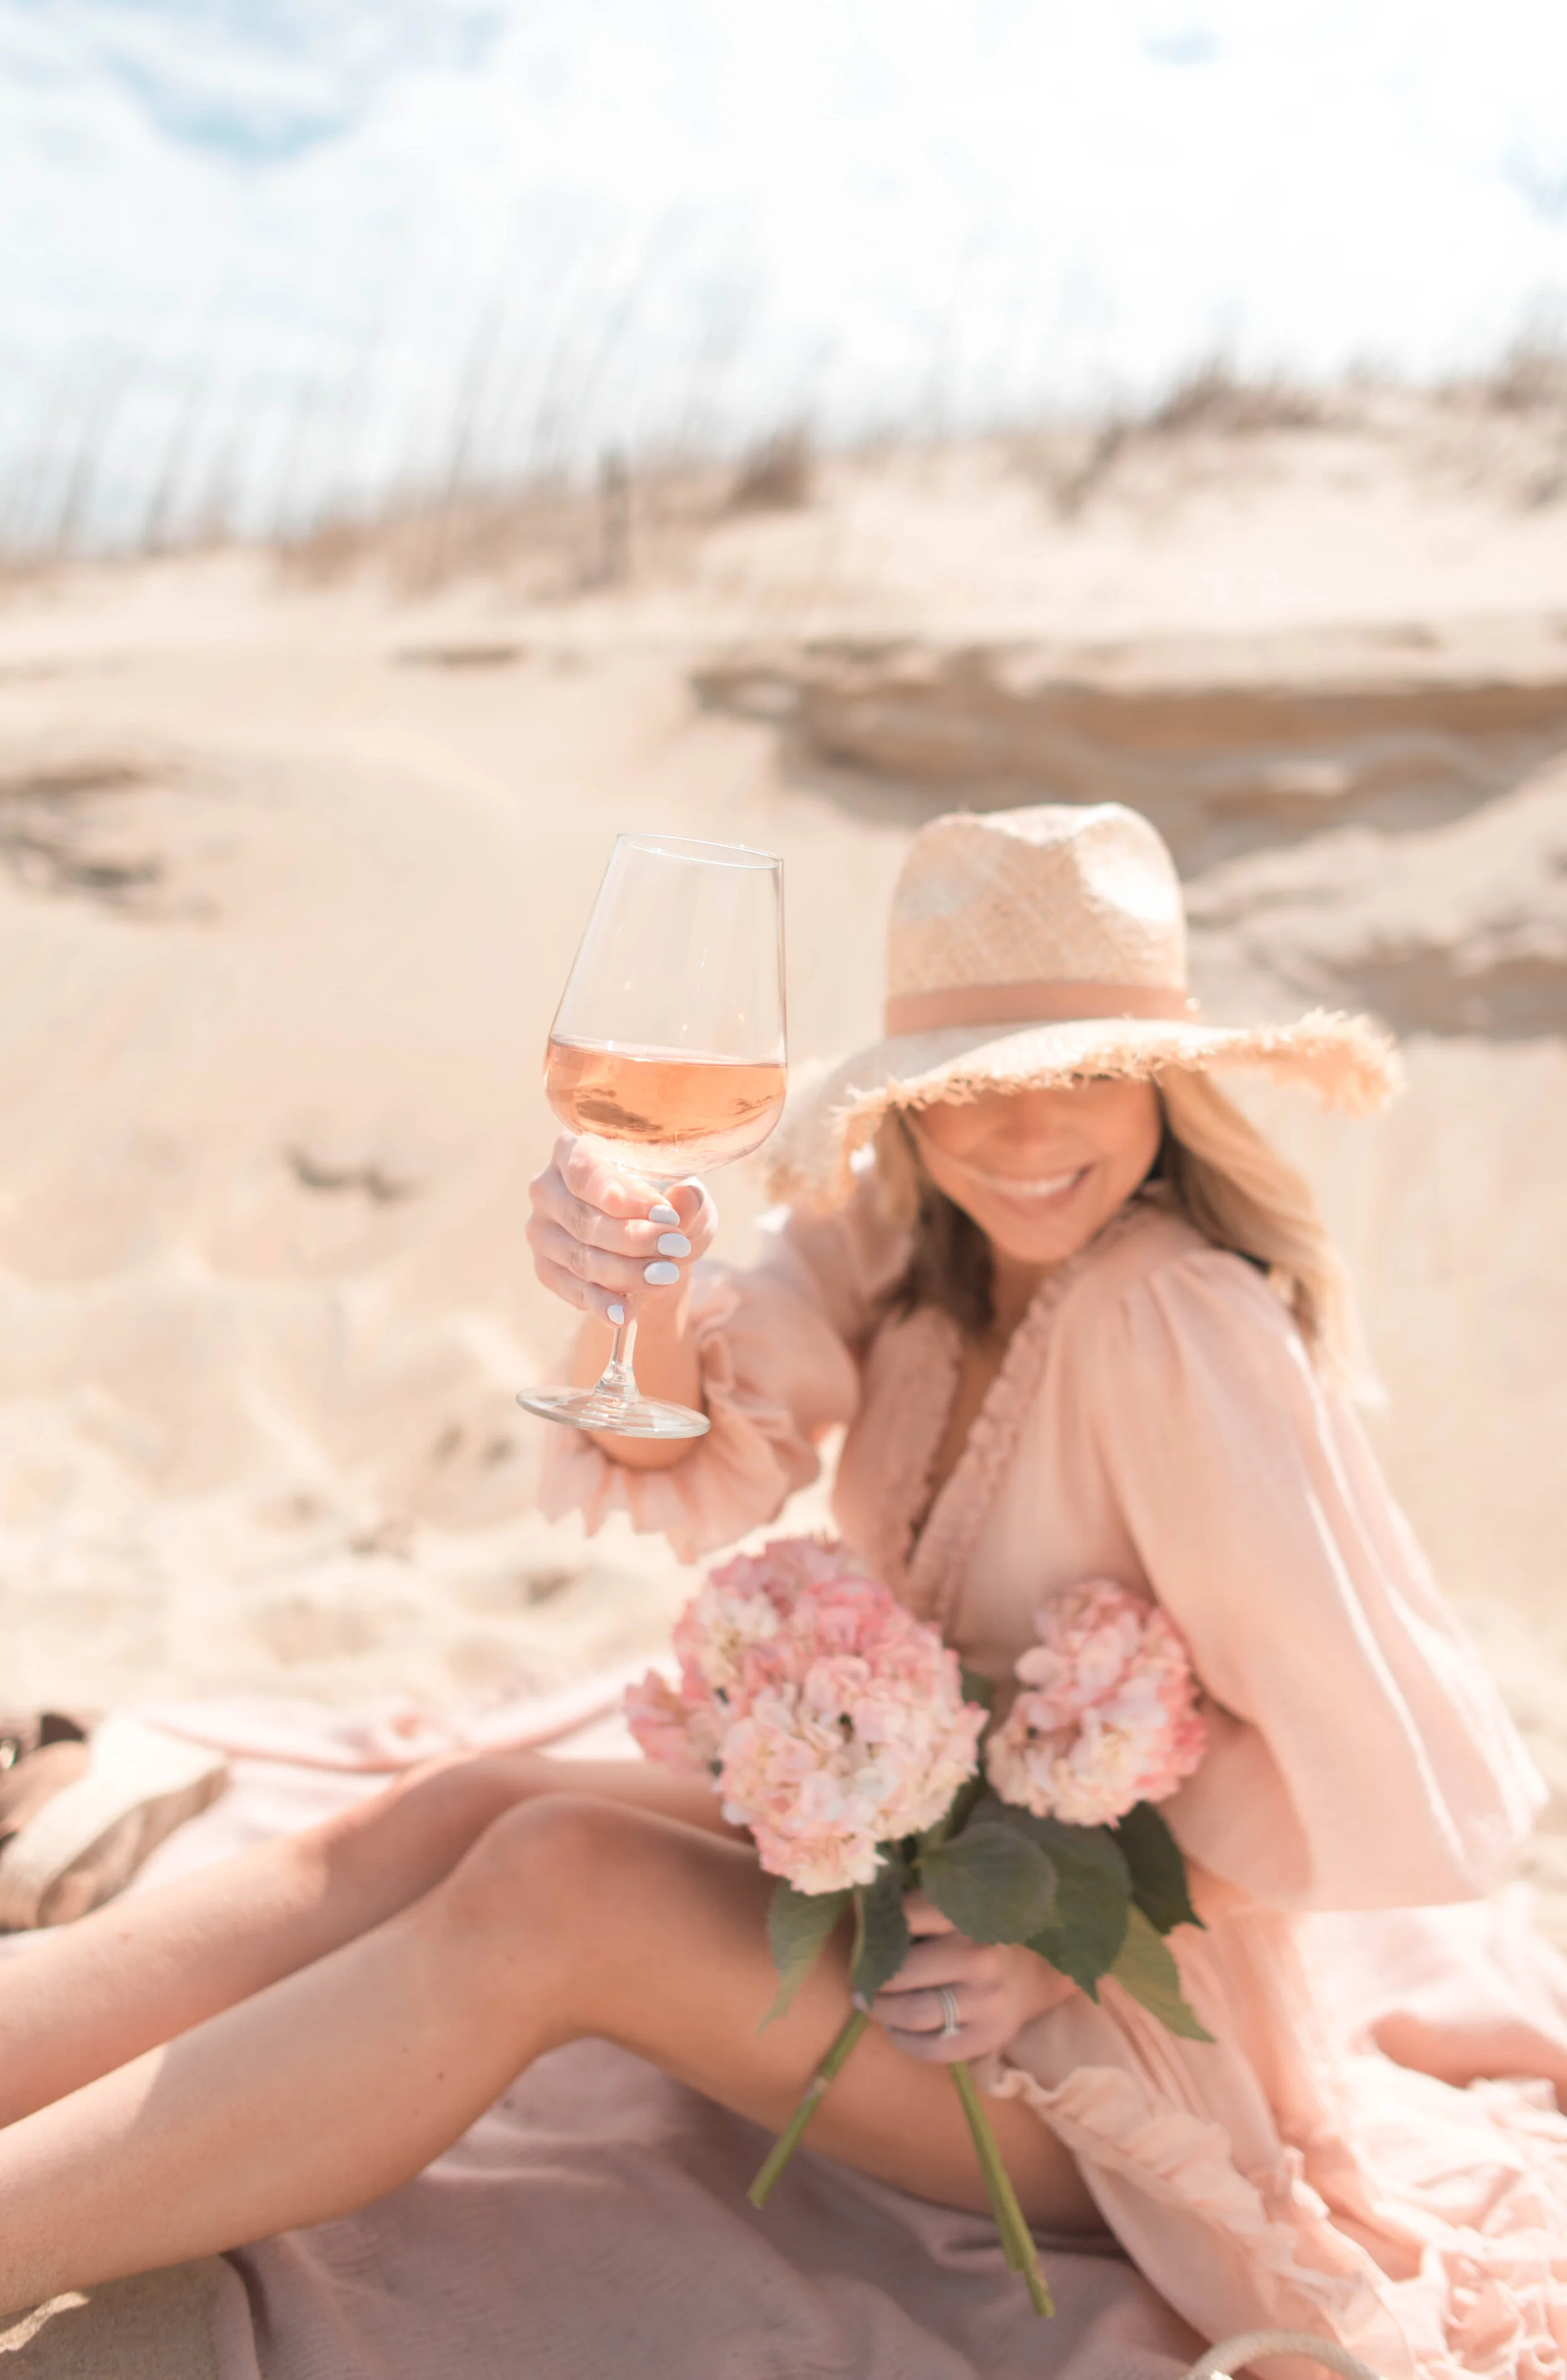
Lastly, one of my favorite tips is for styling. I always recommend bringing along a few props to “set the scene” and make it more interesting than just me standing somewhere in a cute outfit. You certainly don’t need to use them in all of the photos (you don’t want it to look too cluttered either), but it’s good to have a few props on hand, especially if you don’t know what to do with your hands.
For example, while shooting my most recent campaign for Instagram, I brought along a picnic blanket, mini wood cutting board, various fruit (whole and pre-cut), a book, sun hat, sunglasses, and a handbag (also filled with fruit). It may seem like a lot of work, but it honestly only takes a couple minutes to set up and it gives you so much more to play around with while shooting.

Tips for Editing
Without a doubt, the question that pops into my DMs on Instagram most often is “how do you edit your photos?”
I shared a full blog post on how I edit my photos in Lightroom last Summer, but I figured I would share a few updated tips here as well.
Recently, I have been utilizing the side by side comparison (shown below) to see the original photo and my edits to make sure that I am not getting too far away from the original. I don’t want my photos to look over-edited or blown out. This way, I can see if I’ve gone too far with the edits and reel it in from there.
As I have shared before, I do not use a purchased preset for my photos. I created one for my personal use in Lightroom (it is surprisingly easy) based on my standard edits and I typically apply that and then make some minor adjustments from there.
The settings I play around with most are: Exposure, Highlights, Shadows, Whites, Blacks, Temperature, HSL
Depending on the color that I want to highlight in the photo, my Lightroom settings change from shoot to shoot, but the light, airy, and feminine aesthetic is consistent throughout.
Once I am happy with the edit in Lightroom, I download the photo(s) to my computer and add to my Planoly app to see how the photo fits in with my current feed on Instagram. At this point, I can easily see any tweaks that I want to make.
Oftentimes, the quick edits I am making are increasing brightness or decreasing saturation and I can do these quickly in the Lightroom app on my phone before posting to Instagram or adding my final gallery to the blog.
If you are looking for a more in-depth guide to editing your photos in Lightroom, head over to my blog post now!

This post may contain affiliate links, which means I'll receive a commission if you purchase through my link, at no extra cost to you. Please read full disclosure here.
Were these lifestyle photography tips helpful? Let me know by commenting on my latest Instagram post, or by tagging me in your home style with the hashtag #herblushingstyle
Want more lifestyle inspiration? Read Home Decor Pieces I’m Loving and Health Update: My Fertility Journey and Autoimmune Disease Diagnosis.
xo Anna Elizabeth